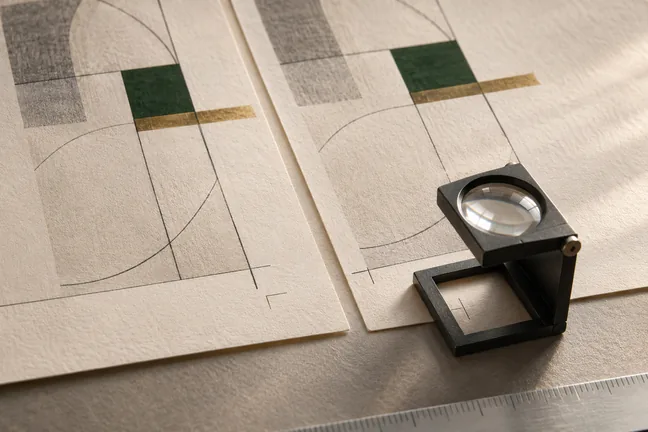
What this changes in your workflow
Prepare the file for the equipment and finishing method the job will use. Work from the intended trim, bleed and press profile, then decide if you need individual pages or pages arranged on a press sheet.
- Prepare CMYK or named spot inks with the intended press profile.
- Use PDF/X-4 or PDF/X-1a output options when the job calls for them.
- Arrange pages on sheets, allow for paper thickness and add page barcodes in the bleed for bindery workflows.
What it means for your operation
Reduce avoidable file returns
Set trim, bleed and the requested press profile up front. Give the print partner a file it can review against the job specifications before scheduling the run.
Catch finishing issues while they are easy to fix
Proof a folded or imposed sample to surface page order, margins and spine problems before a full run uses paper and press time.
Measure time to press approval
Record how many proofs are returned for file corrections, which settings caused the return, and the time from first handoff to approval.
How industries can use it

Prepare a workbook for folding and binding
Set the workbook’s trim and bleed, then arrange its pages for the planned booklet or section format. Use creep allowance where folded sheets shift the inner pages.
In the proof: Fold a sample and verify page order, margins and alignment after trim.
Explore publishing & education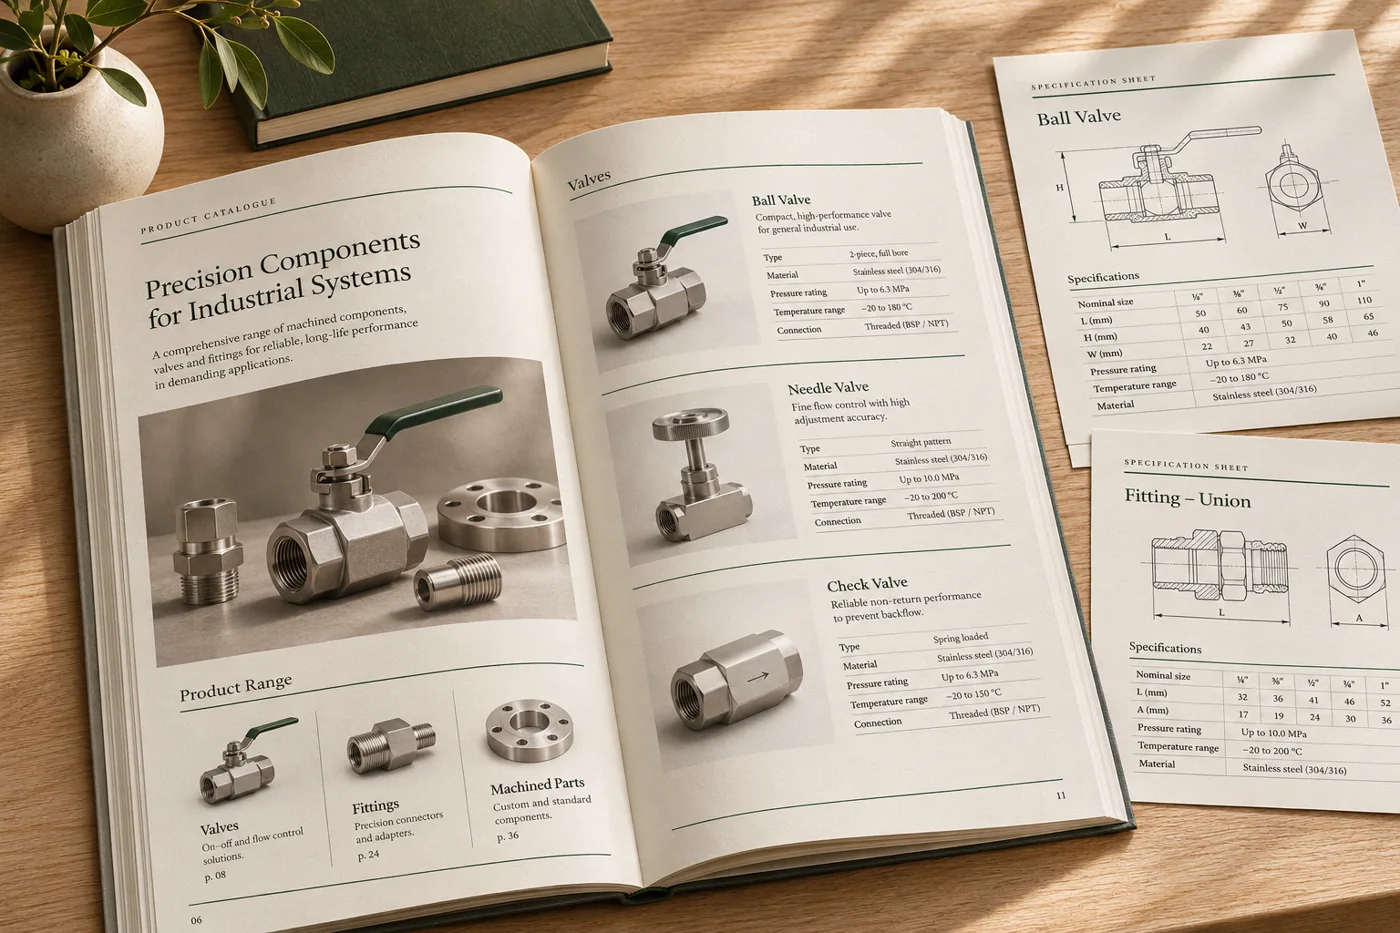
Proof a catalogue with edge-to-edge artwork
Set the edge treatment for full-page product photography and use the profile supplied for the intended press.
In the proof: Review the crop, edge coverage and colour with the print partner before committing the run.
Explore manufacturing & distribution
Produce a brochure with a named ink
Use a named spot ink where the brief calls for it. Choose the PDF/X output option requested for the job.
In the proof: Ask the print partner to confirm the separation and check the file in its own preflight.
Explore retailTest it on a document you already print
Start with an anonymised example and record what the finished file must do before the job moves to the next stage.
- Get the printer’s specifications. Confirm final size, bleed, colour profile, sheet size, finishing method and the PDF/X option requested.
- Make a representative proof. Include artwork near trim and the densest pages. Prepare an imposed sheet if the job needs one.
- Check the exact handoff. Review the proof with the print partner and agree who will impose the pages, so the file is not imposed twice.